nodejs
nodejs

nestjs框架结合typeorm的typescript实践

nestjs框架结合typeorm的typescript实践

最近在学习nestjs框架,相比之前用过的koa2和express有许多不同,koa2结合sequelize之前已经使用过,感觉还是不错的,这次也是学习一下强大的typeorm,其中一些关键操作记录在这里,一遍日后查看。网络上很多帖子已经过时了,对应的很多方法都已经弃用了,所以踩了不少坑。

如果用nestjs开发,那么cli命令一定要用,非常方便。

创建一个module所有文件

nest g res <module name> <dir>

比如nest g res user modules将会在modules目录下创建user文件夹,里面会创建controller、module、service、entities等文件和目录。我们只需进一步完善即可。

entity

这在typeorm中是对数据库表的映射,这里我们以mysql为例,后续所有操作都是基于mysql,比如以下文件

//modules/building/entities/house/entity.ts
import { Column, Entity, JoinColumn, ManyToOne, OneToMany, OneToOne, PrimaryColumn, PrimaryGeneratedColumn } from 'typeorm';
import { Building } from './building.entity';
import { Renter } from '@/modules/renter/renter.entity';
@Entity({
  name: 'house'
})
export class House {
  @PrimaryColumn()
  id: string;

  @Column()
  rank: number;

  @Column({ nullable: false})
  cname: string;

  @Column({ nullable: true})
  description: string;

  @Column({ nullable: true })
  usage: string;

  @Column({ nullable: true })
  buildingId: string;

  @ManyToOne(()=> Building, (c)=>c.houses)
  building: Building

  @OneToMany(()=> Renter, (c)=>c.house)
  renters: Renter[]
}

PrimaryColumn是定义主键字段的,如果是自增的话,有单独一个定义PrimaryGeneratedColumn

表与表之间的关系可以通过ManyToOneOneToManyManyToMany实现,这里暂时只用到了一对多的关系。上面的表HouseN:1BuildingHouse1:NRenter,就是这样定义的。按照本人的理解,如果这样定义,意味着mysql中也要定义相应的外键,如果数据库中不创建外键,不建立外键约束,也是可以做到的,那就要在createQueryBuilder中手动指定,没法在封装的findAllfindOne等方法中使用relations约束。

findAll中使用order排序


  async findAll() {
    const buildings = await this.buildingRep.find({
      relations:{
        houses:true
      },
      order:{
        rank: 'ASC'
      }
      
    });
    return buildings ;
  }

网上有的帖子是这么写的

find({
	relations:{
		houses:true
	},
	order:'rank ASC'
})

现在已经不行了,目前用的typeorm是10.0.0

关联查询中的count用法

这个在官方文档中未找到,可能是本人疏忽,后面在issue中找到了用法

  async findHouses(id: string){
    const houses = await  this.dataSource
    .getRepository(House)
    .createQueryBuilder("h")
    .loadRelationCountAndMap('h.renters_count', 'h.renters')
    .orderBy("h.rank")
    .addOrderBy("h.id")
    .where("h.buildingId = :id",{id: id})
    .printSql()
    .getMany()
    return houses;
  }

这里使用了loadRelationCountAndMap方法,意思就是相关表先count然后再map到原表字段中,还是比较好理解的,这样返回的数组中每一项都多了一个renters_count字段,就是关联子项的个数,这在一些接口中是很有用的,没必要返回子表的所有字段。

新建实例并插入到表中的优雅做法(官网上是这么说的)

    const newHouse = this.houseRep.create(createHouseDto);
    newHouse.id = randomUUID()
    newHouse.rank = newHouse.rank||99
    await  this.dataSource
    .createQueryBuilder()
    .insert()
    .into(House)
    .values([newHouse])
    .execute()
    return true;
  

这里还是用了dataSource的做法,实际上,中文文档是比较落后的,并没有dataSource的用法,还是在介绍connection的用法,也算是踩了个坑。
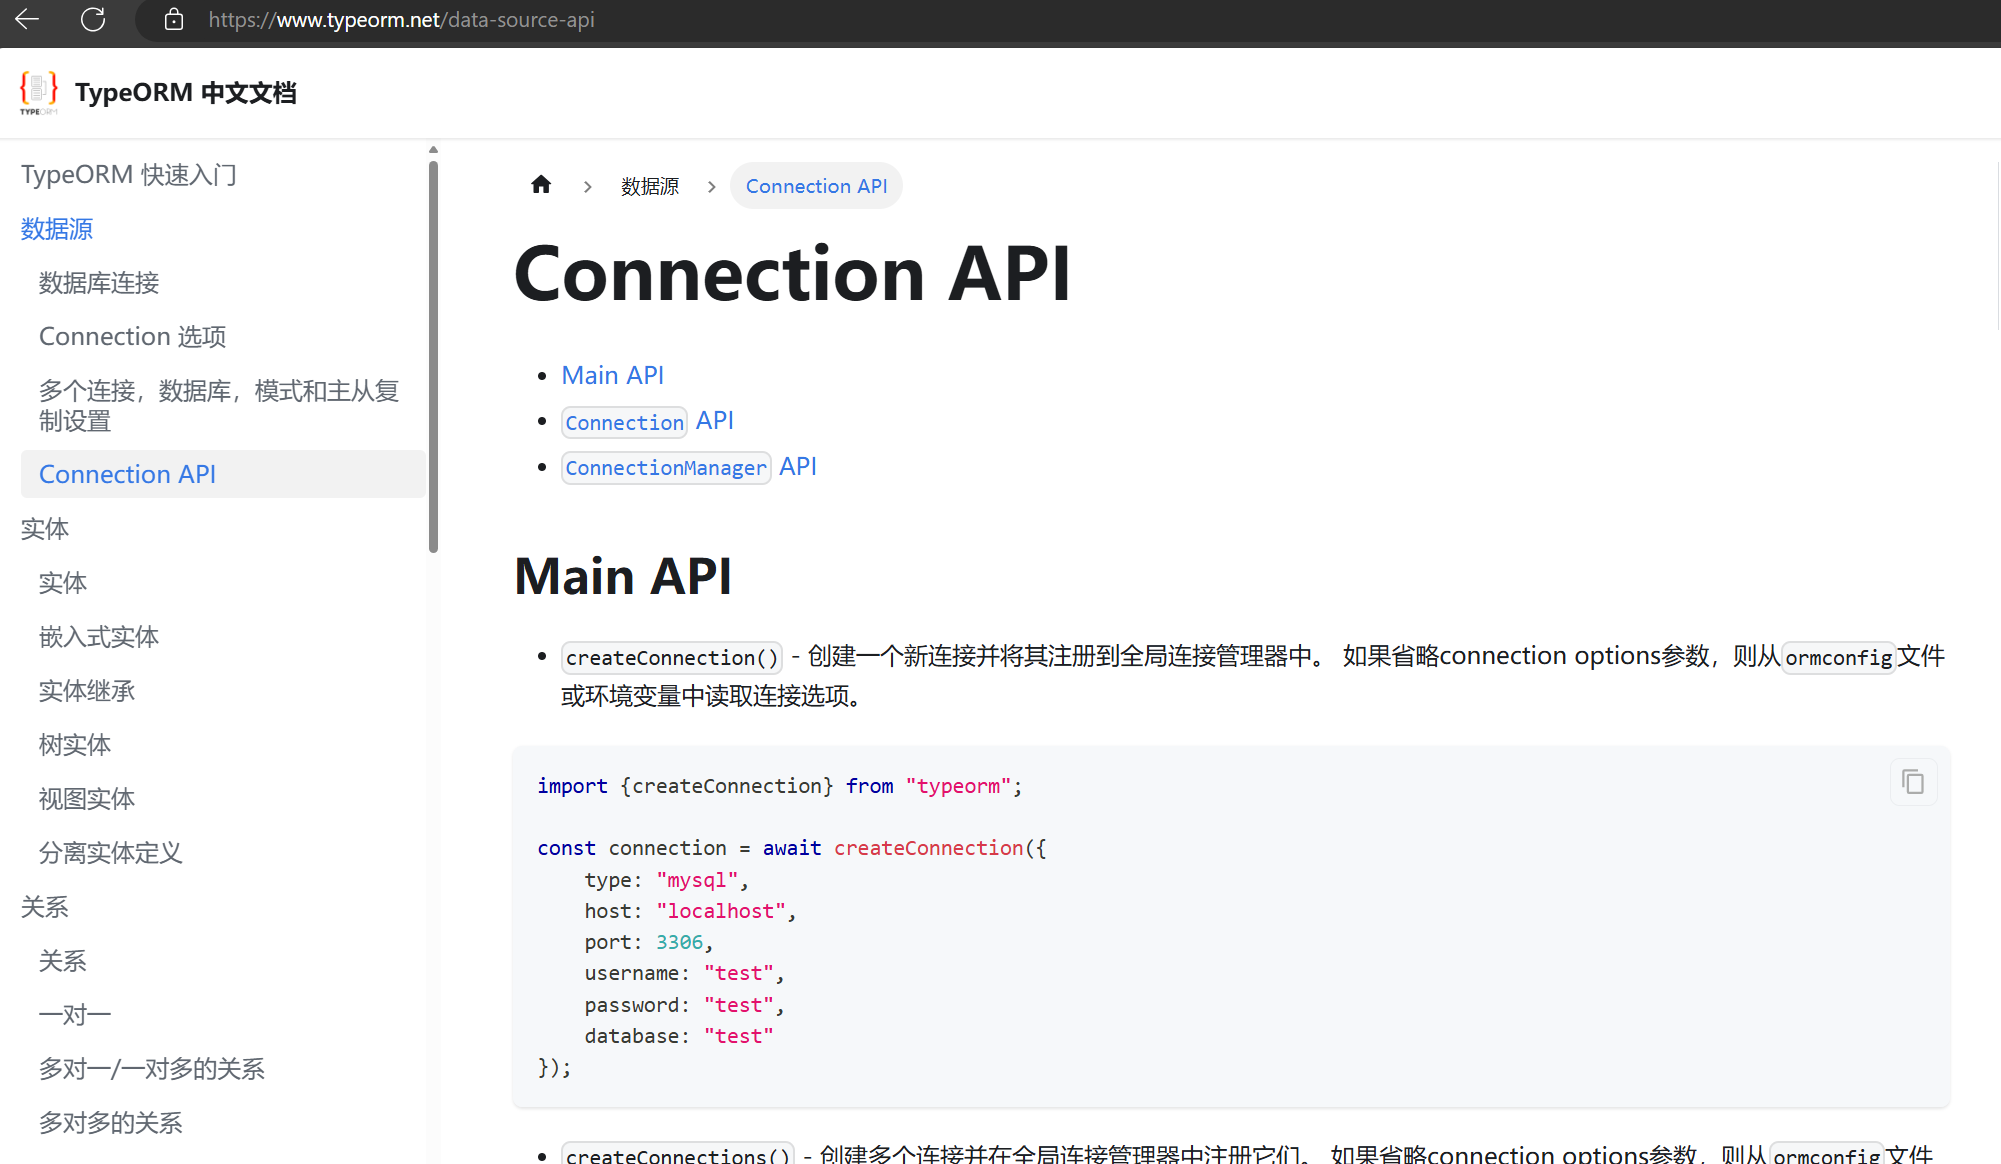
image-20240613141644899

看英文官网的介绍:

image-20240613141754229

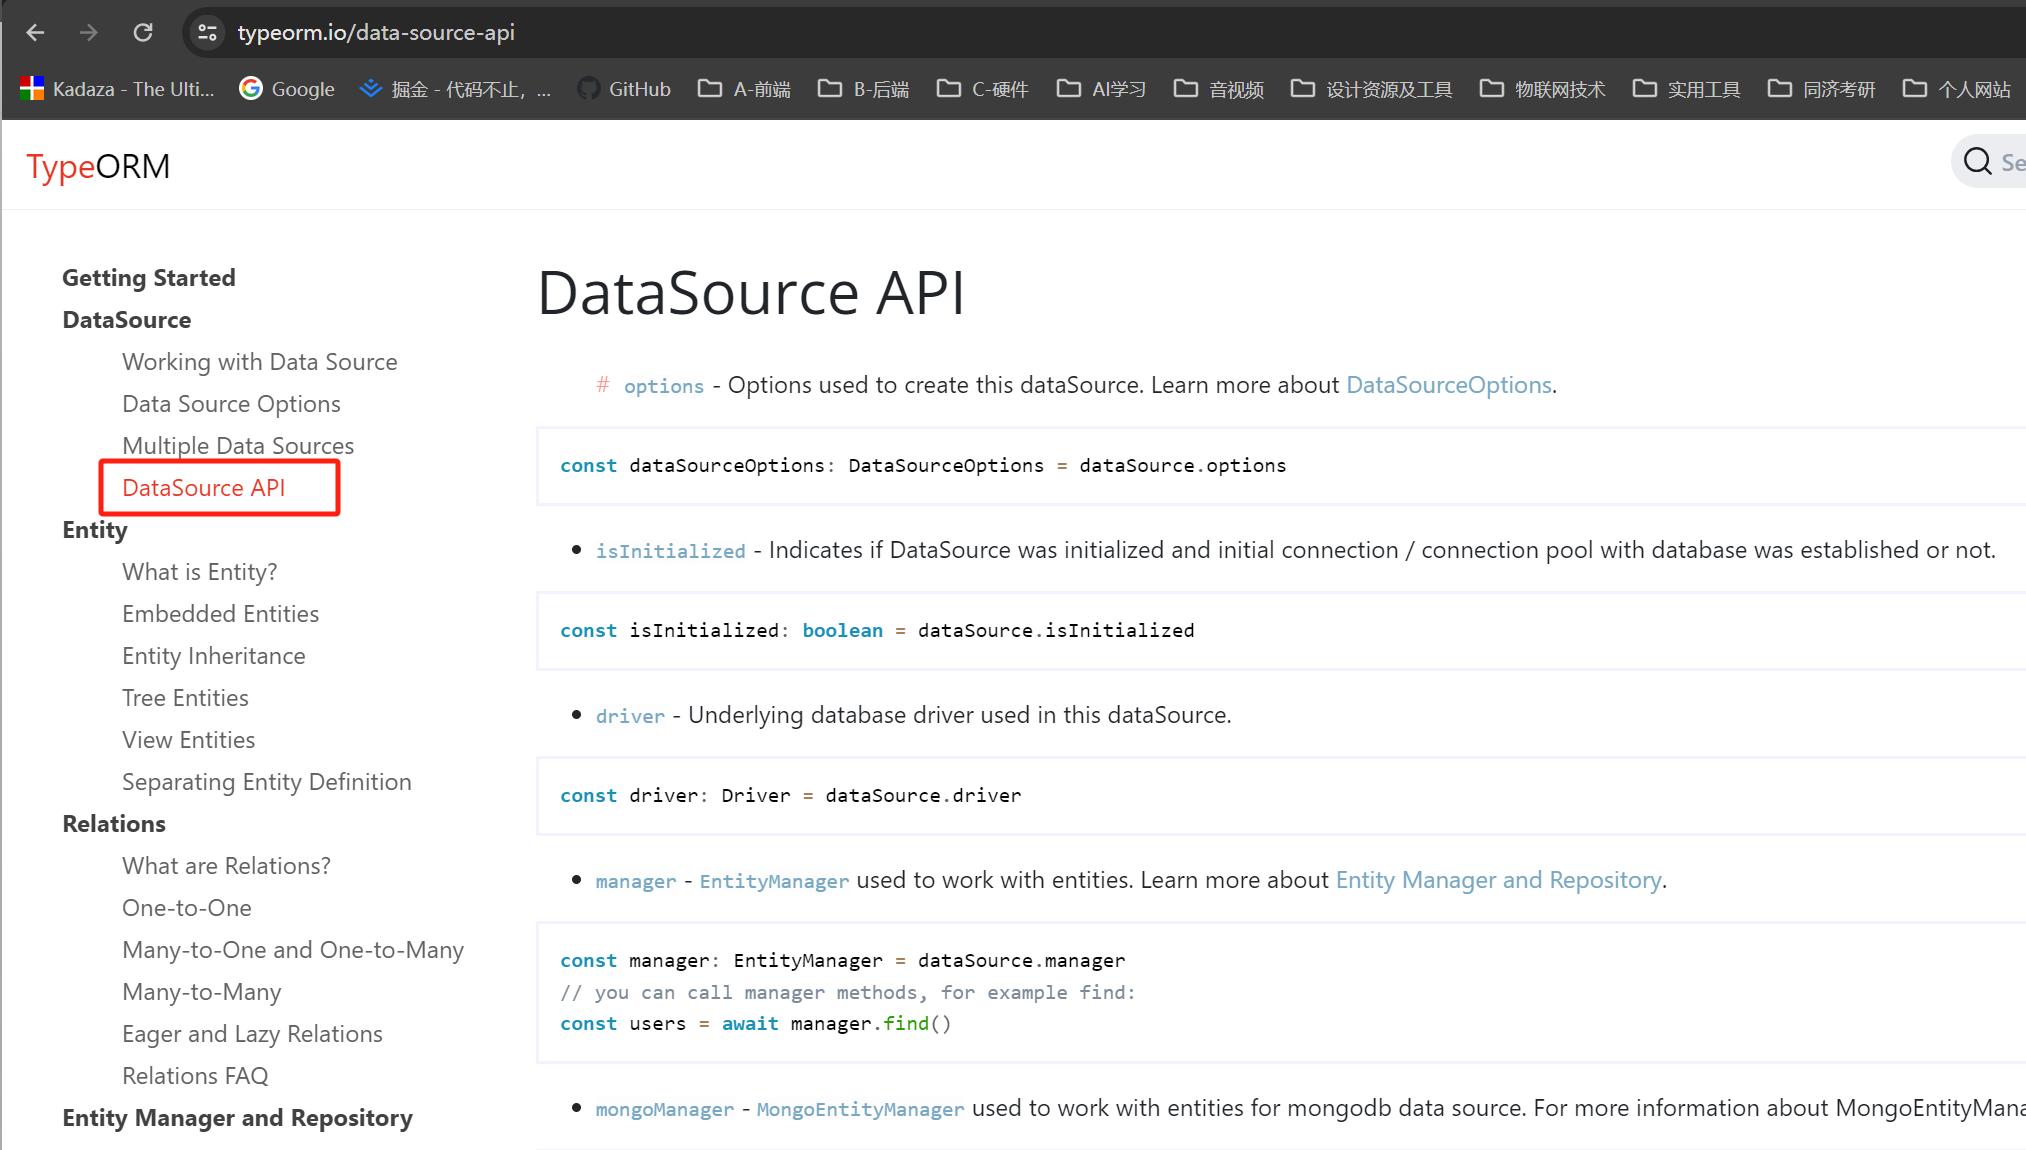
需要注意的是,nestjs中使用DataSource需要单独设置一下,因为typeorm不限定于具体框架,所以具体实现各个框架略有不同。这里使用方法如下:

  1. 导入相关包
import { InjectDataSource, InjectRepository } from '@nestjs/typeorm';
import { DataSource, Repository } from 'typeorm';
  1. 加入到构造器注入中(不知道正确说法)
@Injectable()
export class BuildingService {
  constructor(
    /*@InjectRepository(Building)
    private buildingRep: Repository<Building>,
    @InjectRepository(House)
    private houseRep: Repository<House>,
    */
    @InjectDataSource()
    private dataSource: DataSource,
  ) {}

这里是用在了service中,当然也可以用在controller中,方法一样。只要注入了,下面就可以使用this.DataSource进行连接使用了,具体用法上面已经用过了,参照一下。

dto的继承

便于统一管理,比如createDto中修改了,那么没有必要每一个dto都去修改一遍,用继承完美的实现了自动对应。示例代码如下:

import { PartialType } from '@nestjs/mapped-types';
import { CreateBuildingDto } from './create-building.dto';

export class UpdateBuildingDto extends PartialType(CreateBuildingDto) {}

已建立联系的两个表关联查询

const buildings = await this.buildingRep.find({
      relations:{
        houses:true
      },
      order:{
        rank: 'ASC'
      }
      
    });

未建立关联的两个表进行关联查询

这个需求也是非常大,因为关联表之间需要维护很多东西,在一些场景中,关联不需要非常强,那么直接关联查询将会比较方便,更重要的是,关联表指定返回部分字段。

首先看全部map的方法

    const logs =await this.dataSource
    .getRepository(Log)
    .createQueryBuilder("log")
   .leftJoinAndMapOne('log.renter_info',Renter,'renter','renter.uid=log.renterUid')
    .orderBy("log.createdAt","DESC")
    .limit(2000)
    .getMany()

这样就会将renter表所有字段都map到renter_info字段中

下面这种方法,可以只选择部分字段

    const logs =await this.dataSource
    .getRepository(Log)
    .createQueryBuilder("log")
    .leftJoinAndMapOne('log.renter', Renter,'renter','renter.uid=log.renterUid')
    .select('log')
    .addSelect(['renter.cname','renter.houseId'])
    .orderBy("log.createdAt","DESC")
    .limit(2000)
    .getMany()

上面代码中,select()里面选的是'log',这个一定要加,不然后续选择部分字段将会无效,也可以指定具体的字段,用数组表示即可,比如.select([]'log.id','log.balabala']),下面的addSelect()是针对关联表的字段选择,这里需要注意的是,select('log')必须要加上,否则addSelect将无效,会把所有字段都map进去。

koa2框架获取所有接口列表并通过接口暴露

koa2框架获取所有接口列表并通过接口暴露

router.get('/routesList', async(ctx, next)=>{
//这是唯一需要手动修改的,将路由文件的关键字放到这个数组中,再动态拼接路由文件名,之所以这样处理,是因为这样可以更加灵活地控制返回哪些接口数据
  let routerList = ['menu', 'role', 'user']
  let data = []
  routerList.forEach(el => {
      let filePath = '../routes/' + el + '.route'
      let li = {
        catogory: el,
        list:[]
      }
      li.list.push(...require(filePath).stack.map(i => {
        return {
           methods: i.methods,
           url: i.path
            }   
       }))
       data.push(li)
  });
  ctx.body={
    ...Res[0],
    data:data
  }
})

这样,只要请求 /routesList,便可以得到所有接口的列表,按照路由文件进行了分类,这样便于前端展示,是一个简易版的swagger(只有列表,没有参数信息,没有调试,也没有导出),调试接口的话,完全可以通过apifox等工具实现,又好功能又完善

{
    "status": 0,
    "msg": "成功",
    "data": [
        {
            "catogory": "menu",
            "list": [
                {
                    "methods": [
                        "HEAD",
                        "GET"
                    ],
                    "url": "/menu/getAll"
                },
                {
                    "methods": [
                        "HEAD",
                        "GET"
                    ],
                    "url": "/menu/getMenuTree"
                }
            ]
        },
        {
            "catogory": "role",
            "list": [
                {
                    "methods": [
                        "HEAD",
                        "GET"
                    ],
                    "url": "/role/getAll"
                }
            ]
        }
    ]
}

Koa路由中写一个钩子函数,用于萤石云消息触发钉钉机器人webhook

Koa路由中写一个钩子函数,用于萤石云消息触发钉钉机器人webhook

//钉钉机器人的地址
let webhook = 'https://oapi.dingtalk.com/robot/send?access_token=4dd5cd7xxxxxxxxxxxxxxxxxxxxxxxxxxx'
let whiteList = ['xxxx'] //摄像头序列号白名单,只有在白名单里的才促发报警消息,用于过滤
//获取webhook消息并转发到钉钉机器人
async function sendToDingtalk  (ctx,next) {
    await next()
    ctx.request.body = JSON.parse(ctx.request.body)
    console.log('debugger',ctx.request.body.header)
    console.log('debugger',ctx.request.body)
    let {deviceId, messageTime, channelNo, type, messageId} = ctx.request.body.header
    let {channelName, alarmTime, pictureList } = ctx.request.body.body
    console.log('萤石云消息ID:',messageId)
    let data = null
    if(type=='ys.alarm' &&  whiteList.includes(deviceId) ){
        data =  {
        "msgtype": "markdown",
        "markdown": {
            "title": `【告警消息】${channelName}`, 
            "text": `### 设备名称:${channelName} \n #### 设备序列号:${deviceId} \n #### 通道:${channelNo} \n #### 消息类型:${type} \n #### 时间:${alarmTime} \n ![](${pictureList[0].url})`
            }
        }
    }else if(type=='ys.onoffline'){
        data =  {
        "msgtype": "markdown",
        "markdown": {
            "title": `【上下线消息】${channelName}`, 
            "text": `### 设备名称:${channelName} \n #### 设备序列号:${deviceId} \n #### 通道:${channelNo} \n #### 消息类型:${type} \n #### 时间:${alarmTime}`
            }
        }
    }
    // 判断消息类型,然后发送到钉钉webhook
    if(data != null){
        axios.post(webhook,
           data
        ).then(res=>{
            console.log('钉钉调用成功')
            console.log(res.data)
        }).catch(err=>{
            console.error(err)
        })
    }
    
    ctx.body={
        messageId
    }
}

aixos并配合form-data模块

在nodejs上使用axios发送post请求时,使用到了一个form-data包,作用就是构造一个类似于前端的表单,项目中是用来上传文件,殊不知遇到一个axios的问题,这个问题之前在前端页面上没有遇到过,我猜测原因可能是前端上传文件时,表单是网页自带的,可能已经给我们做了这个工作(这个只是猜想,没有验证)

看一下遇到的问题,post报错,报错内容是

Error [ERR_FR_MAX_BODY_LENGTH_EXCEEDED]: Request body larger than maxBodyLength limit

经查,只需要在axios中设置两个参数即可:

maxContentLength: Infinity,maxBodyLength: Infinity,

另外,为了安全起见,在headers中还增加了表单具体大小,完整配置如下

axios({
url:ossUrl,
method: 'post',
maxContentLength: Infinity,
maxBodyLength: Infinity,
headers:{
'token':token,
'content-type': 'multipart/form-data;boundary=' + formData.getBoundary()
},
data:formData
})

只要加了这个Infinity,以后多大的文件都能传了。